

 русский
 Español

What Are the Different Methods for Replacing a Lock Cylinder Screw When Changing a Door Lock?
Industry News-Content
- 1 Why Lock Cylinder Screws Matter When Replacing a Door Lock
- 2 Identifying Your Lock Cylinder Screw Type Before You Start
- 3 Method One: Standard Screwdriver Removal for Phillips and Flathead Screws
- 4 Method Two: Using a Hex Key for Set Screw Configurations
- 5 Method Three: Handling Torx and Security Screws
- 6 Method Four: Extracting Stripped or Rusted Lock Cylinder Screws
- 7 Choosing the Right Method for Your Specific Lock Replacement
Why Lock Cylinder Screws Matter When Replacing a Door Lock
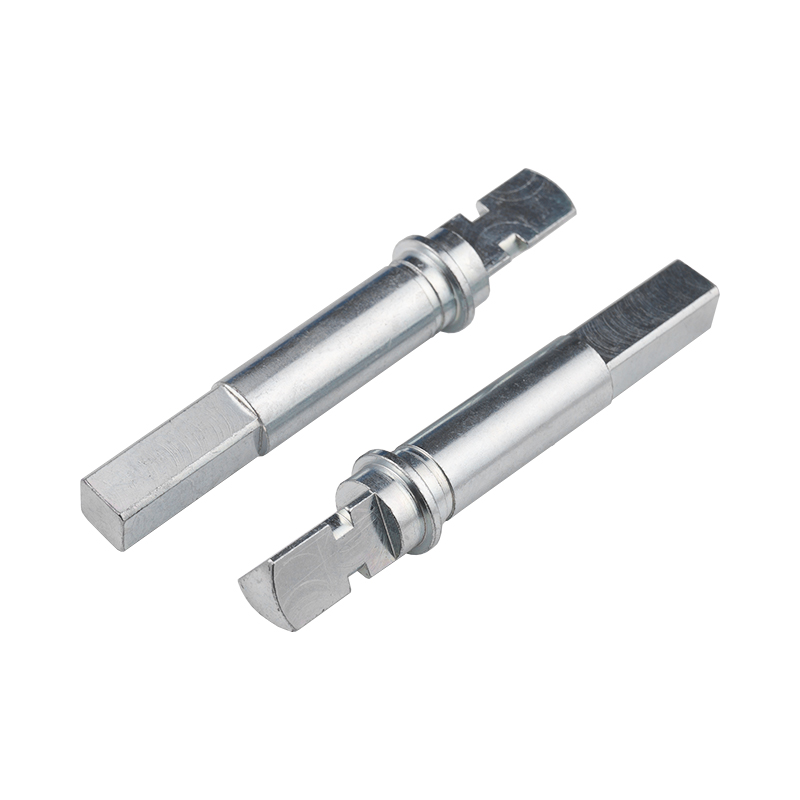
Replacing a door lock is one of the most common home maintenance tasks, whether prompted by a lost key, a security upgrade, or simple wear after years of use. At the center of nearly every cylinder-based lock replacement is a small but critical component: the lock cylinder screw. This fastener, sometimes called a cylinder retaining screw or cam screw depending on the lock design, secures the cylinder housing to the lock body and prevents the cylinder from rotating loose or being pulled out from the exterior side of the door. Understanding the different methods for removing and installing this screw is essential because the wrong technique can damage the screw head, strip the threads, or even render the entire lock mechanism unusable.
Different lock manufacturers and lock types use distinct screw configurations, head styles, and access points, which means there is no single universal method for handling the cylinder screw. This article walks through every practical approach, from standard screwdriver removal to dealing with stripped, rusted, or security-pin screws, so that anyone replacing a door lock can choose the right method for their specific hardware.
Identifying Your Lock Cylinder Screw Type Before You Start
Before attempting any removal method, it is important to correctly identify the screw head type and access location, since this determines which tools and techniques will actually work. Misidentifying the screw type is the most common reason DIY lock replacements stall partway through.
Common Screw Head Types Found in Lock Cylinders
Standard residential deadbolts and knob locks typically use Phillips head or flathead cylinder screws located on the edge of the door near the latch, accessible once the strike plate area or interior trim is removed. Higher-security commercial and grade-1 residential locks often use Torx (star-shaped) screws or one-way security screws, which are intentionally designed to resist easy removal by unauthorized parties. Mortise locks frequently use a set screw located on the underside of the cylinder collar, requiring an Allen wrench (hex key) rather than a screwdriver. Knowing which category your lock falls into before purchasing replacement tools saves a wasted trip to the hardware store.
Locating the Screw Access Point
On most cylindrical knob and lever locks, the cylinder retaining screw is accessed from the edge of the door, visible once the door is open and the latch faceplate is exposed. On deadbolts, the screw is often hidden beneath the rose or trim ring on the interior side of the door, requiring removal of two mounting screws and the interior cover plate before the cylinder screw becomes visible. Mortise lock cylinders are usually accessed from the door edge as well, but require removing the faceplate first to expose the set screw securing the cylinder within the mortise pocket.
Method One: Standard Screwdriver Removal for Phillips and Flathead Screws
The most straightforward method applies to standard Phillips or flathead cylinder screws found on the majority of consumer-grade locks. This method requires no specialized tools and can typically be completed in under ten minutes by a first-time DIY installer.
- Open the door fully and locate the screw on the door edge near the latch mechanism, or remove the interior trim plate if the screw is positioned on the inside face.
- Select a screwdriver that matches the screw head size exactly — an undersized Phillips screwdriver is the leading cause of stripped screw heads during this step.
- Apply firm, steady downward pressure while turning counterclockwise to back the screw out, keeping the screwdriver perpendicular to the screw head at all times.
- Once loosened, withdraw the cylinder from the lock body, noting the orientation of the cam or tailpiece so the replacement cylinder can be installed in the same alignment.
- When installing the new cylinder, hand-thread the screw first before using the screwdriver to avoid cross-threading, then tighten until snug without over-torquing, which can crack the cylinder housing on lower-cost lock models.
Method Two: Using a Hex Key for Set Screw Configurations
Mortise locks and some heavier-duty cylindrical locks secure the cylinder using a set screw rather than a screw with a visible head accessible from the door face. This method requires an Allen wrench or hex key set rather than a screwdriver.
Begin by removing the lock faceplate on the door edge, typically secured by two small screws, to expose the cylinder collar and the recessed set screw within it. Set screws are commonly sized at 1/8 inch or 3/32 inch for residential mortise locks, so testing fit with a hex key set before committing to a single size prevents rounding out the screw's hex socket. Insert the hex key fully into the recess and turn counterclockwise with steady pressure; because set screws sit flush or recessed within the collar, a partial insertion is the most common cause of the key slipping and damaging the socket. Once loosened, the cylinder can be rotated and withdrawn from the mortise pocket, and the new cylinder is installed by reversing the process, ensuring the set screw aligns with the designated flat or notch machined into the replacement cylinder's collar.
Method Three: Handling Torx and Security Screws
Security-oriented locks frequently use Torx screws or proprietary one-way security screws specifically to deter tampering. These require a different tool approach and, in some cases, professional intervention.
Standard Torx Screws
Torx screws have a six-point star-shaped recess and require a matching Torx driver bit, commonly sized between T6 and T20 for lock applications. These are removed using the same straightforward turning method as Phillips screws, provided the correct bit size is used. A driver set with multiple Torx sizes is a worthwhile investment for anyone who regularly works on commercial-grade or higher-security residential hardware.
One-Way and Tamper-Resistant Security Screws
One-way security screws are designed with an asymmetric head that allows a standard driver to tighten the screw but causes the driver to slip when attempting to loosen it. Removing these screws typically requires a specialized one-way screw removal tool, which grips the angled edges of the screw head and applies torque in the loosening direction only. An alternative method involves using a small flathead screwdriver and a hammer to carefully tap a new slot into the screw head at an angle that allows leverage in the counterclockwise direction, though this carries a higher risk of damaging the surrounding lock housing and should be considered a last resort rather than a first choice.
Method Four: Extracting Stripped or Rusted Lock Cylinder Screws
When a cylinder screw has been stripped from repeated use of the wrong tool size, or has corroded from years of exposure to moisture, standard removal methods will fail. Several escalating techniques can resolve this situation without requiring full lock body replacement.
| Technique | Best For | Tools Needed |
| Rubber band grip trick | Lightly stripped Phillips heads | Wide rubber band, screwdriver |
| Penetrating oil soak | Rusted or corroded screws | Penetrating oil, screwdriver |
| Screw extractor bit | Severely stripped or snapped screws | Drill, screw extractor kit |
| Manual impact driver | Seized screws resisting torque | Impact driver, hammer |
| Drilling out the screw | Last-resort total failure cases | Drill, metal drill bits, safety glasses |
The rubber band trick involves placing a piece of a wide rubber band over the stripped screw head and pressing the screwdriver through it before turning, as the added friction often provides enough grip to back the screw out. For rusted screws, applying penetrating oil and allowing it to sit for 15 to 30 minutes before attempting removal frequently breaks the corrosion bond enough for standard tools to work. When stripping is severe, a screw extractor — a tapered, reverse-threaded tool that bites into a pre-drilled pilot hole in the screw — provides reliable removal. A manual impact driver, which converts a hammer strike into rotational torque, is effective on screws that resist turning due to thread-locking compound or long-term corrosion. Drilling out the screw entirely should only be attempted when all other methods fail, since it risks damaging the surrounding cylinder housing and may require replacing the entire lock body rather than just the cylinder.
Choosing the Right Method for Your Specific Lock Replacement
Selecting the correct removal method begins with accurately diagnosing both the screw head type and its current condition. A brand-new lock replacement on an undamaged screw almost always calls for the simplest standard screwdriver or hex key method, while an older lock that has seen years of weather exposure may require penetrating oil or extraction tools regardless of the original screw head design. It is worth noting that attempting a more aggressive method, such as drilling, before exhausting simpler options frequently causes unnecessary damage to hardware that could otherwise have been salvaged with patience and the correct tool size.
For anyone replacing a door lock as part of a security upgrade rather than a repair, it is also worth confirming whether the new cylinder uses the same screw type and thread pitch as the old one, since mismatched replacement cylinders can require sourcing a different screw entirely. Keeping a basic multi-bit screwdriver set, a hex key set, and a small bottle of penetrating oil on hand covers the vast majority of residential lock cylinder screw situations, making future lock changes — whether due to a lost key, a move into a new home, or routine security maintenance — considerably faster and less frustrating to complete.
Our Products //
Hot Products
If you are interested in our products, please consult us
Kunshan Hong Yong Sheng Precision Hardware Products Co.,Ltd. All Rights Reserved. Customised Fastener Manufacturer in China
